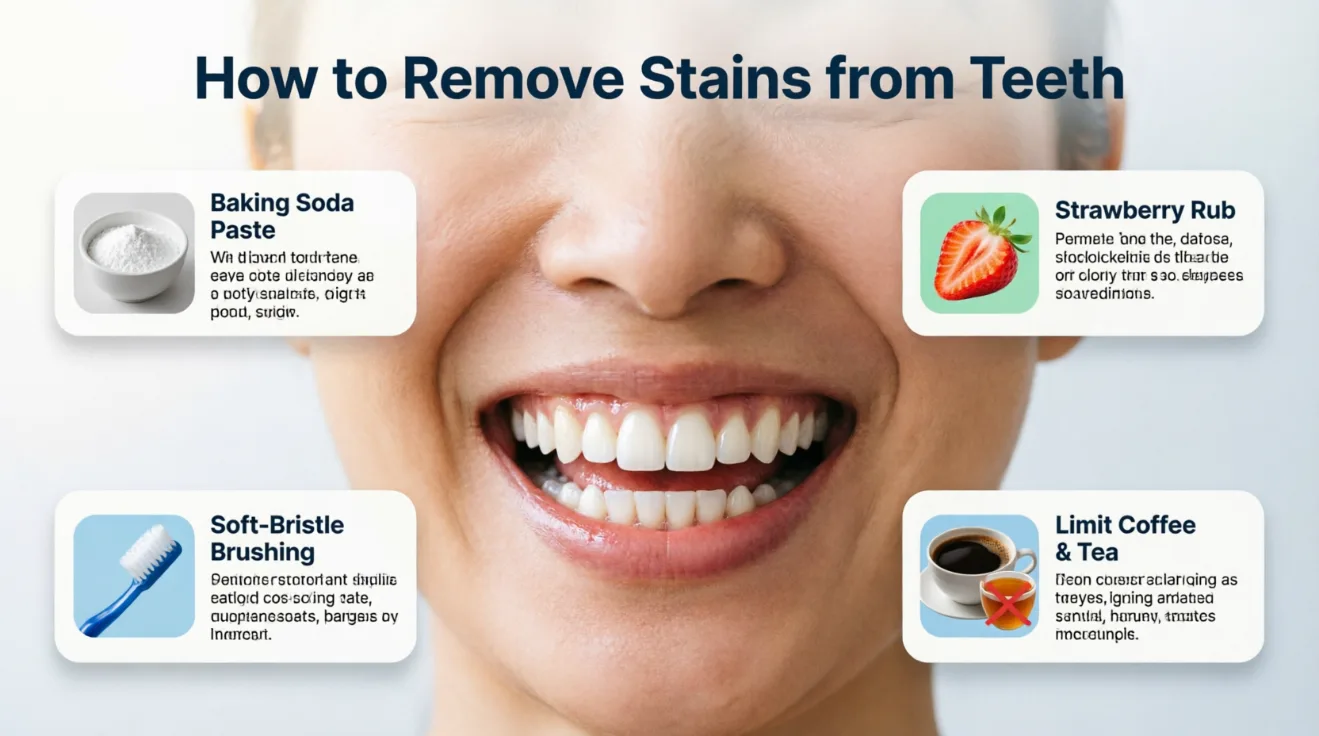
A bright smile is one of the first things people notice, so it’s no surprise that stained teeth can feel frustrating, especially when you brush regularly. The good news is that most tooth discoloration is treatable, and you don’t always need an expensive dental visit to see real improvement.
Teeth stains come from many sources: coffee, tea, wine, tobacco, certain foods, and even the natural aging process. Understanding what’s causing your stains is the first step toward choosing the right fix, since not every method works on every type of discoloration.
In this guide, you’ll learn the difference between stain types, which home remedies actually work, how to use whitening products safely, and when it’s worth seeing a dentist. We’ll also cover prevention tips and answers to common questions. Let’s get your smile back on track.
Understanding Tooth Stains
Before reaching for a whitening product, it helps to know what kind of stain you’re dealing with, since different stains respond to different treatments.
Extrinsic stains sit on the surface of the enamel, the hard outer layer of your teeth. These come from pigmented foods and drinks like coffee, tea, red wine, and berries, as well as tobacco use. Extrinsic stains are usually the easiest to treat because they don’t penetrate the tooth itself.
Intrinsic stains develop inside the tooth, often below the enamel in a layer called dentin. These can result from certain medications taken during childhood, excess fluoride exposure, trauma to a tooth, or genetics. Intrinsic stains are harder to remove with surface treatments and often need professional whitening or other dental work.
Age-related discoloration happens naturally over time. Enamel thins with age, allowing the yellowish dentin underneath to show through more, while years of surface staining also accumulate.
It’s also useful to understand the parts of a tooth involved:
- Enamel: the hard, translucent outer layer that can absorb surface stains
- Dentin: the yellowish layer beneath enamel that shows through as enamel thins
- Pulp: the innermost layer, not typically involved in staining
Knowing which category your stains fall into helps set realistic expectations. Surface stains often respond well to home methods, while deeper or internal discoloration usually needs professional attention.
What Causes Teeth to Stain
Understanding the common culprits behind tooth discoloration can help you both treat and prevent it.
Dark beverages. Coffee, tea, red wine, and dark sodas contain pigments called chromogens and tannins that cling to enamel over time.
Foods with strong pigments. Berries, tomato sauce, soy sauce, and curry can leave surface stains with regular consumption.
Tobacco use. Smoking and chewing tobacco leave tar and nicotine residue that causes stubborn yellow-to-brown staining.
Poor oral hygiene. Inconsistent brushing and flossing allow plaque to build up, which can trap stains and make them more noticeable.
Aging. As mentioned, enamel naturally thins over the years, allowing more of the yellow dentin to show through.
Certain medications. Some antibiotics taken during tooth development, such as tetracycline, can cause intrinsic staining. Antihistamines and blood pressure medications have also been linked to staining in some cases.
Excess fluoride. Too much fluoride during childhood tooth development can cause a condition called fluorosis, leading to white or brown spotting.
Trauma. An injury to a tooth can damage internal tissue and cause it to darken over time.
Genetics. Some people naturally have thinner enamel or more yellow-toned dentin.
Recognizing your main triggers makes it easier to choose both a treatment and a prevention strategy that actually works for your situation.
Before You Start: What to Expect
Before trying any whitening method, it helps to set realistic expectations and check a few things first.
Results vary by stain type. Surface stains from food and drink typically respond well to whitening. Intrinsic stains from medication or trauma often need professional treatment for meaningful change.
Sensitivity is common. Many whitening methods, especially peroxide-based ones, can cause temporary tooth sensitivity or gum irritation. Start slowly if you have sensitive teeth.
Consistency matters more than intensity. Gentle, regular treatment usually produces better and safer results than aggressive, one-time attempts.
Check for underlying issues first. Cavities, exposed roots, or gum disease should be addressed before whitening, since some methods can worsen these conditions.
See a dentist if you notice:
- Stains on only one tooth, which can indicate internal damage
- Severe sensitivity or pain
- Signs of decay, such as dark spots or holes
- Stains that don’t respond to consistent home care after several weeks
Timeline expectations. Over-the-counter methods often take one to several weeks of consistent use to show noticeable results, while professional treatments can work in a single visit.
With realistic expectations set, you can choose an approach that fits your situation and comfort level.
Supplies You’ll Need
Most stain-removal methods use products you can find at a pharmacy or grocery store. Here’s what to have on hand.
Core Supplies
- Soft-bristled toothbrush: hard bristles can wear away enamel over time
- Fluoride toothpaste: for daily maintenance, with a whitening variety if desired
- Whitening toothpaste: contains mild abrasives or gentle chemical agents to lift surface stains
- Dental floss: to remove plaque between teeth where stains can build up
- Hydrogen peroxide whitening strips or gel: for at-home whitening treatments
Optional Additions
- Baking soda: a mild natural abrasive some people use occasionally
- Whitening mouthwash: contains low-concentration peroxide for gradual whitening
- Custom or boil-and-bite whitening trays: for more even gel application
- Electric toothbrush: can improve plaque removal compared to manual brushing
- Tongue scraper: helps reduce bacteria that can contribute to overall mouth staining
Supply Notes
Choose ADA-accepted products when possible. Look for products that carry approval from a recognized dental association, which indicates they’ve been tested for safety and effectiveness.
Avoid harsh acids. Some viral home remedies use lemon juice, vinegar, or activated charcoal, which can erode enamel. We’ll cover this more in the methods to avoid section.
Start with lower concentrations. If you’re new to whitening products, choose gentler formulas first and work your way up only if needed.
Setup and Preparation
A little preparation helps you get the most out of any whitening method and reduces the risk of irritation.
Prepare Your Routine
- Clean your teeth first. Brush and floss before applying any whitening product so it can work on the tooth surface rather than plaque.
- Read product instructions carefully. Whitening products vary in recommended contact time and frequency.
- Choose a consistent time of day. Many people find it easiest to whiten as part of their evening routine.
Protect Your Gums and Sensitivity
- Apply gel carefully. If using strips or trays, avoid letting the whitening gel touch your gums, since it can cause irritation.
- Use a sensitivity toothpaste if needed. Products containing potassium nitrate can help reduce discomfort during a whitening routine.
- Space out treatments. Give your teeth a break between whitening sessions rather than using multiple products at once.
Set Realistic Goals
Take a “before” photo in natural light so you can track your progress over time. Small, gradual changes are often hard to notice day to day, but comparing photos over a few weeks can show real results.
With your routine set and expectations in place, you’re ready to begin treatment.
Step-by-Step: Whitening Strips (A Common Home Method)
This example walks through one of the most widely used home methods. Adjust timing based on your specific product’s instructions.
Step 1: Brush and floss. Clean your teeth thoroughly at least 30 minutes before applying strips, since brushing right before can increase sensitivity.
Step 2: Dry your teeth. Pat your teeth dry with a tissue so the strips adhere better.
Step 3: Apply the strips. Align the strip along your gumline and press it onto the front surfaces of your teeth, smoothing out air bubbles.
Step 4: Wear as directed. Most strips are worn for 30 minutes to an hour, though this varies by product.
Step 5: Avoid talking or eating. Keep your mouth relatively still to prevent the strips from shifting.
Step 6: Remove and rinse. Peel off the strips and rinse your mouth with water. Avoid brushing immediately afterward.
Step 7: Repeat as directed. Most treatment plans call for daily use over one to two weeks, followed by a maintenance schedule.
Step 8: Avoid staining foods temporarily. Skip coffee, tea, and red wine for a few hours after treatment, since teeth are more porous and stain-prone right after whitening.
Customizing Your Approach
Different situations call for different methods. Here’s how to choose based on your stains, budget, and timeline.
Choosing a Method
- Whitening toothpaste: best for very mild surface stains and ongoing maintenance
- Whitening strips: a good middle ground for moderate stains, with visible results over one to two weeks
- Whitening trays with gel: allow more even coverage and can be reused over time
- In-office professional whitening: the fastest and strongest option, ideal for significant staining or before a special event
- Professional take-home trays: custom-fitted trays from a dentist, often more effective than store-bought versions
Adjusting for Sensitivity
If you experience sensitivity, reduce the frequency of treatments, shorten contact time, or switch to a lower-concentration product. Using a sensitivity toothpaste for a week before starting whitening can also help.
Adjusting for Stain Severity
- Mild surface stains: whitening toothpaste and consistent oral hygiene may be enough
- Moderate stains: strips or trays over a few weeks
- Stubborn or long-standing stains: professional whitening tends to produce more noticeable results
For Intrinsic Stains
If your discoloration comes from the inside of the tooth, over-the-counter products may show little improvement. Ask your dentist about options like professional bleaching, bonding, or veneers.
Methods to Avoid or Use with Caution
Not every popular remedy is safe for your enamel. Here’s what to watch out for.
Use With Caution
Baking soda. In small amounts and used occasionally, it can gently help remove surface stains. Used too often or scrubbed too hard, it can wear down enamel.
Charcoal toothpaste. Marketed as a natural whitener, but research on its safety and effectiveness is limited, and its abrasiveness can damage enamel with regular use.
Whitening mouthwash. Generally safe, but results are typically slower and milder than strips or trays.
Better Avoided
Lemon juice or vinegar. Their acidity can erode enamel, making teeth more porous and prone to future staining and sensitivity.
Hydrogen peroxide used undiluted or too frequently. While it’s a common ingredient in whitening products at safe concentrations, using strong, undiluted peroxide can irritate gums and damage tissue.
Abrasive scrubbing. Using extra pressure or a hard-bristled brush to “scrub away” stains can wear down enamel rather than remove it.
Fruit peel rubbing. Some viral trends suggest rubbing banana or orange peels on teeth. There’s little evidence this provides meaningful whitening, and it offers no real advantage over standard methods.
The safest approach uses ADA-accepted products as directed, combined with good oral hygiene.
Preventing Future Stains
Once your teeth are looking brighter, a few habits can help you maintain your results.
Daily Habits
- Brush twice daily with fluoride toothpaste, using gentle, circular motions.
- Floss daily to remove plaque between teeth before it hardens and traps stains.
- Rinse after staining foods and drinks. A quick water rinse after coffee, tea, or wine can reduce residue.
Smart Habits Around Staining Foods
- Use a straw for dark beverages to reduce contact with your front teeth.
- Pair staining foods with water or crunchy vegetables, which can help clean the tooth surface naturally.
- Avoid brushing immediately after acidic foods or drinks. Wait about 30 minutes, since acid temporarily softens enamel.
Long-Term Maintenance
- See your dentist regularly for professional cleanings, which remove buildup that home care can miss.
- Consider touch-up treatments. Many whitening plans include occasional maintenance sessions to preserve results.
- Limit tobacco use, since it’s one of the most stubborn sources of staining.
Small, consistent habits go much further than occasional intense efforts.
FAQs
How long does it take to see results?
Most home methods show visible change within one to two weeks of consistent use.
Is teeth whitening safe?
When used as directed, most over-the-counter and professional whitening methods are considered safe for healthy teeth and gums.
Can I whiten teeth with cavities or dental work?
Whitening products typically don’t affect fillings, crowns, or veneers the same way they do natural teeth, so consult your dentist beforehand.
How often can I whiten my teeth?
This depends on the product, but many plans call for an initial treatment period followed by occasional maintenance, rather than continuous daily use.
Do natural remedies work?
Most have limited scientific support and some carry a risk of enamel damage, so proven products are generally a safer choice.
Conclusion
Removing stains from your teeth is achievable for most people, if through consistent daily habits, over-the-counter products, or professional treatment. The right method depends on the type and severity of your stains, so start by understanding what’s causing the discoloration.
Remember the key points: identify if your stains are surface-level or internal, choose an appropriate method, use products as directed to avoid enamel damage, and build habits that prevent new stains from forming.
If home methods aren’t giving you the results you want, or if you notice pain, sensitivity, or uneven staining, a dentist can offer additional options tailored to your needs.
Try a method that fits your routine and share your results in the comments. Subscribe for more practical guides on dental care and healthy habits.

I am Owen Walker, the author of dreamzoons.com and a passionate dream expert. I explore the hidden secrets and deep meanings of dreams to help you understand the true messages behind them.