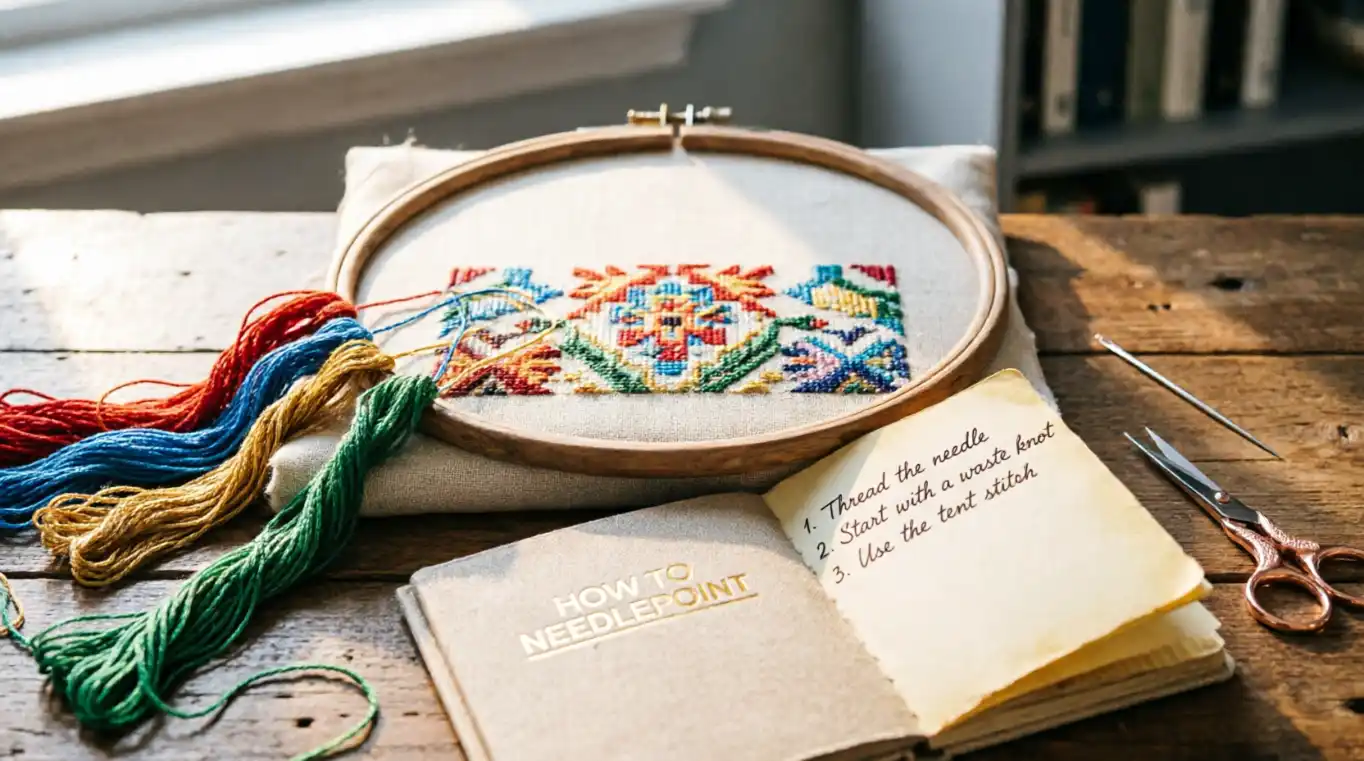
To learn how to needlepoint, start with a simple printed canvas, tapestry needle, and suitable thread. Thread your needle, secure the thread with a waste knot, then make small diagonal tent stitches through the canvas holes. Keep your stitches and tension even, finish the thread on the back, and repeat until the design is filled.
Key Takeaways
- Needlepoint is beginner-friendly when you start with a simple canvas and basic stitch.
- A tapestry needle, canvas, thread, and small scissors are the main supplies.
- The tent stitch, especially the continental stitch, is a useful first stitch to learn.
- Shorter pieces of thread are easier to control and less likely to tangle.
- Basketweave is useful for larger areas because it can help reduce canvas distortion.
What Is Needlepoint?
Needlepoint is a form of canvas needlework in which you use a needle and thread to cover the open spaces of a canvas with stitches. Many beginner projects use a printed or painted design, so you can follow the colors on the canvas instead of creating the entire pattern yourself.
Think of it as coloring with thread. Instead of filling a picture with a pencil or paint, you cover sections of the canvas one stitch at a time.
The good news is that you do not need to learn dozens of stitches before starting. A basic tent stitch can take you a long way, and you can add more decorative stitches as your skills grow. Current beginner resources commonly recommend learning tent, continental, and basketweave stitches first.
What Do You Need to Start Needlepoint?
You can begin with only a few basic supplies.
Needlepoint Canvas
Choose a beginner-friendly canvas with a clear design. Mesh count refers to the number of holes or intersections per inch. Larger mesh generally means larger openings, which can be easier for a new stitcher to see and work through.
A 13-mesh canvas is commonly suggested for beginners because its openings are relatively easy to work with.
Needle and Thread
A tapestry needle is commonly used for needlepoint. Unlike a sharp sewing needle, it normally has a blunt point that can pass through the canvas openings.
Thread choices vary. Wool, cotton, silk, blends, and specialty fibers can all be used depending on the canvas and project. If you are new, a kit can make the process much simpler because the canvas, needle, thread, and instructions are matched for you.
Helpful Tools
You may also want:
- Small embroidery scissors
- A needle threader
- Stretcher bars or another way to support the canvas
- A project bag
- A stitch guide
You do not need every accessory immediately. Start with the essentials and add tools as you discover what makes stitching more comfortable.
How to Needlepoint Step by Step
1. Choose a Beginner-Friendly Canvas
Start small.
A simple printed design with clearly defined color areas is easier than a large, highly detailed canvas with complicated shading.
Look for a project that you actually like. You will spend time stitching it, so choosing an interesting design can help you stay motivated.
2. Prepare Your Thread
Cut a manageable length of thread before you begin. A common recommendation is about 18 inches, or approximately the distance from your fingertips to your elbow. Longer pieces can become tangled or worn as you pull them repeatedly through the canvas.
If your thread has multiple strands, check your project’s instructions to see if you should use the strands together or separate them.
3. Thread the Needle
Insert the thread through the eye of your tapestry needle.
If the thread is fraying at the end, trim it cleanly or twist the fibers together before threading. A needle threader can also make this step easier.
You are now ready to secure the thread and begin.
4. Make a Waste Knot
A waste knot is a temporary way to hold your thread while you begin stitching.
Tie a small knot at the end opposite the needle. Place the knot on the front of the canvas a short distance away from where you plan to start.
Bring the needle from the front to the back and begin stitching toward the loose thread tail. Your stitches will eventually cover and secure that tail.
When you reach the waste knot, cut the knot away carefully without cutting the canvas.
5. Make Your First Tent Stitch
The tent stitch is one of the easiest and most useful needlepoint stitches for beginners.
Bring your needle from the back of the canvas to the front through one hole. Then take it diagonally across the canvas intersection and go back down through the neighboring hole.
You have just made one diagonal stitch.
Repeat the same basic movement across the area you are filling. The important part is keeping the stitches going in the same direction.
Needlepoint.com describes the continental stitch as a basic tent stitch worked in horizontal rows.
6. Continue Across the Canvas
Once you understand the first stitch, continue working across your colored area.
Try not to pull the thread extremely tight. Your goal is a smooth, even surface rather than a tightly stretched canvas.
As you become comfortable, pay attention to the direction of every stitch. Consistent stitch direction gives the finished piece a cleaner appearance.
For a large area, you can eventually learn basketweave, which has a different path on the back while producing a similar appearance on the front.
7. Start a New Thread
Eventually, your thread will become too short.
Do not try to squeeze several extra inches out of it. Instead, finish the thread on the back of the canvas.
Once you have enough stitching on your canvas, you can usually secure a new thread by running it under several existing stitches on the back. This holds the new thread in place without relying on a large knot.
Then bring your needle back to the front and continue stitching.
8. Finish Your Thread
When your thread is nearly finished, turn the canvas over.
Run the needle through several stitches on the back to secure the thread. Pull it through without creating a bulky knot, then carefully trim the excess.
Keeping the back of your canvas reasonably neat makes the finished piece easier to handle and can prevent unnecessary bulk.
What Is the Easiest Needlepoint Stitch?
For most beginners, the tent stitch is the natural place to start. Continental stitch is a straightforward version that can be worked in rows and is suitable for small areas and entire simple projects.
Once you are comfortable with it, learn basketweave stitch. It looks similar from the front, but the stitching pattern on the back is different. It is particularly useful when covering larger areas because the technique can help minimize distortion.
You do not need to master decorative stitches immediately. Build confidence with the basics first.
Continental vs. Basketweave Stitch
| Feature | Continental | Basketweave |
| Beginner friendly | Yes | Yes, after learning tent stitch |
| Appearance on front | Diagonal tent stitches | Similar diagonal appearance |
| Back of canvas | More regular rows | Basket-like diagonal pattern |
| Best starting use | Small areas and practice | Larger filled areas |
| Main advantage | Simple to learn | Can reduce distortion |
Both are based on the tent-stitch family, but their paths through the canvas differ.
Common Needlepoint Mistakes to Avoid
Using Thread That Is Too Long
Long thread may seem convenient because you will not need to rethread your needle as often. However, it can tangle and become worn. Keeping your working thread manageable makes stitching easier.
Pulling Too Hard
Avoid yanking the thread tightly after every stitch. Excessive tension can pull the canvas out of shape.
Changing Stitch Direction
If one row slopes one way and the next row randomly changes direction, the finished surface may look uneven.
Starting With a Difficult Design
An intricate canvas can be beautiful, but it may not be the best first project. A small design with simple shapes and limited colors gives you room to practice.
Learning Too Many Stitches at Once
Hundreds of needlepoint stitches may be available, but you do not need to learn them all on your first day. Start with tent stitch, then add basketweave and decorative techniques later.
How to Choose Your First Needlepoint Project
For your first project, look for:
- A small or medium-sized canvas
- A clearly printed design
- A limited number of colors
- Larger mesh that is easy to see
- Simple shapes without complicated shading
- A kit containing compatible thread and instructions
A beginner kit can be especially useful because you do not have to guess which needle, thread, and canvas belong together. Needlepoint.com, for example, describes beginner kits that combine printed canvas, needle, thread, and instructions.
Most importantly, choose something you genuinely want to finish. Learning is much more enjoyable when the final project feels worth the effort.
Frequently Asked Questions
Is needlepoint easy for beginners?
Yes. Needlepoint can be quite approachable when you begin with a simple printed canvas and one basic stitch. You do not need previous sewing experience. Start slowly, practice your tension, and learn one technique at a time.
Do you need a hoop for needlepoint?
Not necessarily. Needlepoint canvas is relatively firm, and many projects can be stitched without a traditional embroidery hoop. However, stretcher bars or another support can help keep the canvas taut and make stitching more comfortable.
What needle should you use for needlepoint?
A tapestry needle is commonly used because its blunt tip can pass through the canvas openings. The appropriate needle size depends on the canvas mesh and thread you are using.
How long should needlepoint thread be?
Around 18 inches is a commonly recommended starting length. This is roughly the distance from your fingertips to your elbow. Shorter lengths can also be useful when working with threads that tangle easily.
Can you learn needlepoint without sewing experience?
Absolutely. Needlepoint is a structured craft, and a beginner can learn the basic movements without knowing how to sew clothing or use a sewing machine. A simple canvas and tent stitch provide a manageable starting point.
Conclusion
Learning how to needlepoint does not have to feel complicated. Start with a simple canvas, choose a suitable tapestry needle and thread, and learn the basic tent stitch. Once you understand how to bring the needle up, make the diagonal stitch, and secure your thread, you already have the foundation for your first project.
Take your time with tension and stitch direction. When you feel comfortable, add basketweave and then explore decorative stitches. The goal of your first project is not perfection. It is to understand the process, build confidence, and enjoy creating something one stitch at a time.

I am Jaxon Blake, the author of DreamZoons.com, where I explore the hidden meanings behind dreams. I am a dream expert, and I help people understand what their dreams may be trying to tell them.